Flashing on roof edge is a critical yet often overlooked component of your roofing system that plays a vital role in protecting your home. Designed to prevent water intrusion, flashing acts as a barrier where your roof meets other surfaces, like walls, chimneys, or along the edges. Without it, roofs can be vulnerable to water damage, leading to leaks, mold, and costly repairs.
If you’re a homeowner trying to understand the purpose and significance of roof flashing, this blog has you covered. Here’s what you’ll learn:
- The purpose of roof edge flashing and why it matters.
- The various types of roof flashing and their applications.
- How to spot common problems with flashing and what to do about them.
Read on to gain the knowledge you need to protect your roof and make informed decisions about your home’s maintenance.
💧 The Purpose of Roof Edge Flashing
What Does Roof Flashing Do?
At its core, roof edge flashing is designed to direct water away from critical areas of your roof and into your gutter system. Without it, water could easily seep into your home where different materials meet, such as where the roof meets a wall or along angles and edges. Key purposes include:
- Preventing leaks: Flashing ensures that rainwater does not leak through joints and seams.
- Guarding against structural damage: By keeping water out, flashing helps maintain the structural integrity of your roof and home.
- Extending roof lifespan: Proper flashing reduces water-related issues, ensuring your roof holds up longer.
- Boosting energy efficiency: By protecting insulation and underlying materials from water damage, flashing contributes to better energy efficiency in your home.
Where Is Flashing Found?
Flashing is not limited to just the edges of your roof. It’s strategically placed to protect critical areas, which may include:
- Valleys (where two roof slopes meet).
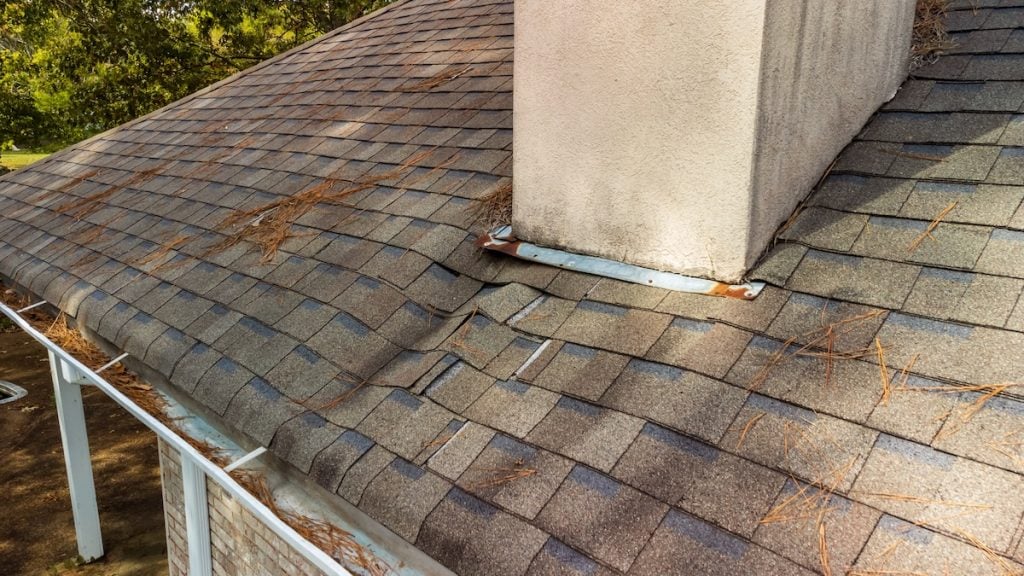
- Around chimneys and skylights.
- Along dormer walls.
- On the edge of roofing where it meets gutters.
📋 Types of Roof Flashing
Flashing is not one-size-fits-all; there are several types, each serving specific purposes.
Common Types of Roof Flashing
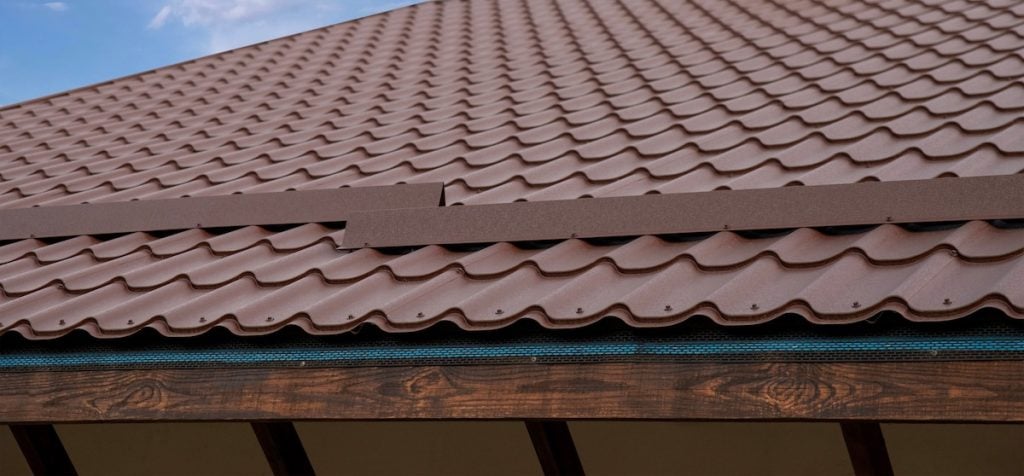
- Drip edge flashing: Installed along roof edges, this type prevents water from dripping down into the fascia and protects the underlying structure.
- Step flashing: Used where the roof meets vertical walls, step flashing overlaps in sections to ensure seamless water flow.
- Valley flashing: U-shaped flashing placed in roof valleys to prevent water from pooling or penetrating.
- Vent pipe flashing: Often referred to as pipe boots, these create a watertight seal around roof penetrations like plumbing vents.
Material Options for Flashing
Roof flashing materials vary depending on durability, climate, and budget. Common flashing materials include:
- Aluminum: Lightweight and rust-resistant, aluminum is a popular option for roofs in wet climates.
- Copper: Known for its durability and aesthetic appeal, copper flashing is a long-term investment.
- Steel: Available in both galvanized and stainless options, steel flashing excels in strength and durability.
- Rubber and plastic: These materials are often used for vent pipe or niche applications but may not last as long as metal.
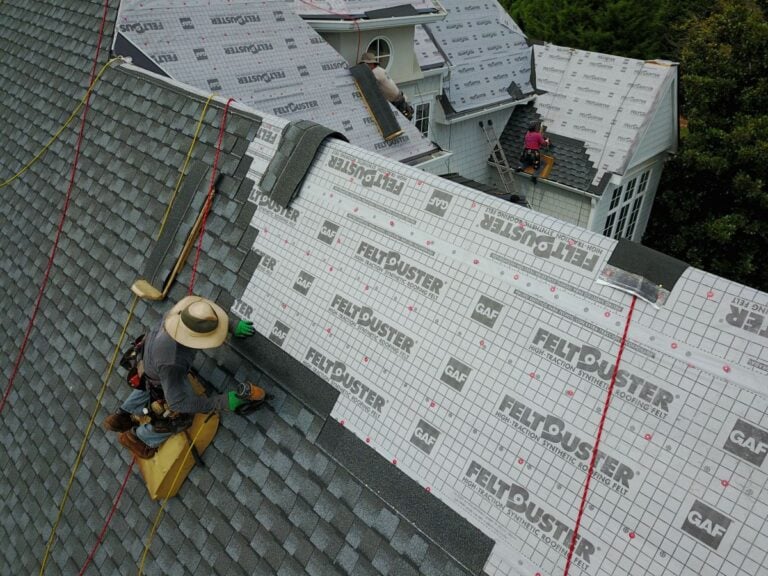
🛠️ How to Install Flashing on Roof Edge
Installing flashing can be a complex task, especially if you’re not familiar with roofing techniques. Here’s a step-by-step approach to understanding how flashing on roof edges is installed.
Tools and Materials Needed
- Flashing material (aluminum, steel, or copper).
- Roofing nails or screws.
- Roofing adhesive or caulk.
- Measuring tape and cutting tools.
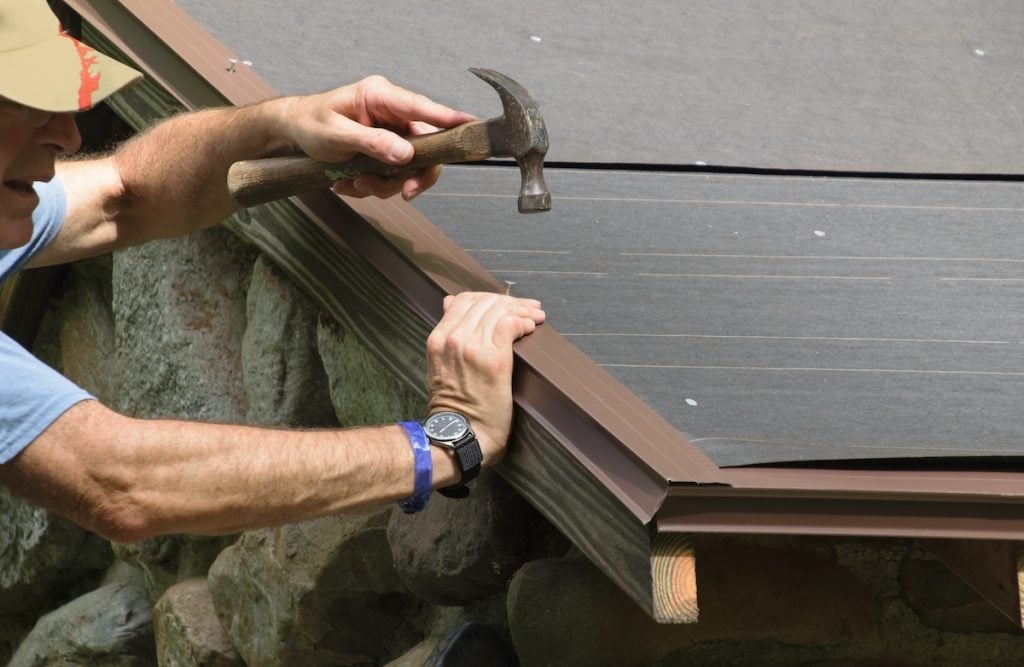
Steps to Install Flashing
- Measure and Cut the Flashing: Start by measuring the roof edge where you’ll install the flashing.
- Cut the flashing to the length of the area using tin snips, ensuring a precise fit.
- Position the Flashing: Place the flashing on the roof edge with the outer edge overhanging slightly beyond the fascia.
- Make sure the bottom of the flashing aligns with the gutter to direct water flow correctly.
- Secure the Flashing: Use roofing nails or screws to secure the flashing to the roof deck.
- Place nails at intervals to ensure it stays firmly in place, but be careful not to overtighten.
- Seal the Edges: Apply a generous amount of roofing adhesive or caulk along the edges to create a watertight seal.
- Smooth the adhesive for a clean finish and ensure all joints and seams are covered.
- Overlap Flashing Sections: If the flashing requires multiple sections, ensure there’s at least a 2-inch overlap between pieces to prevent gaps and leaks.
- Inspect and Finalize: Once the flashing is installed, inspect for any gaps or issues and make necessary adjustments.
- Clean up any excess adhesive to complete the installation.
Safety Note
If you’re unsure about how to install flashing safely or effectively, it’s always best to leave the job to professionals. Proper installation is crucial to the performance and longevity of your roof.
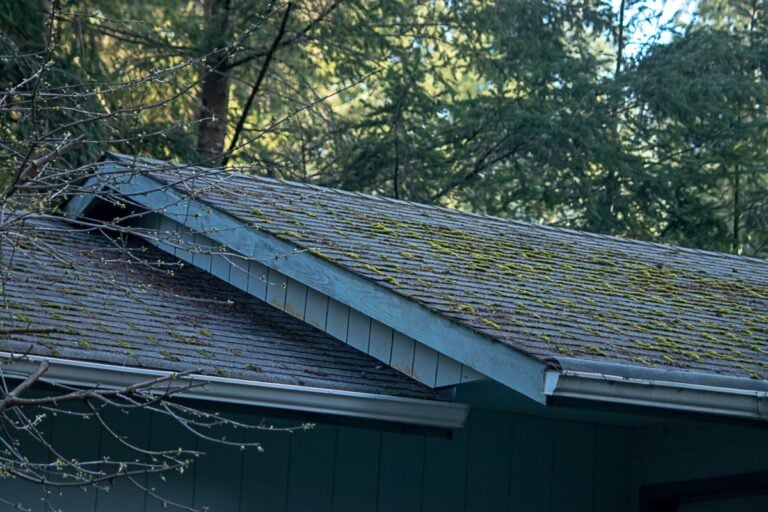
❌ Common Problems With Roof Edge Flashing
Even with proper installation, roof flashing can face issues that compromise its effectiveness over time.
Signs Your Flashing Needs Attention
- Rust or corrosion on metal flashing: Can weaken materials, leading to leaks.
- Cracks or gaps in the sealant: Often caused by temperature fluctuations or aging adhesive.
- Flashing displacement: High winds or storms can loosen flashing, creating gaps for water to enter.
- Pooling water: Improper placement or low-grade materials may result in water collecting and damaging the structure.
What to Do If You Notice Problems
If you spot any of the warning signs above, it’s important to act quickly. Delaying repairs could turn minor issues into costly damages. Steps include:
- Scheduling a professional inspection.
- Repairing or replacing damaged flashing as soon as possible.
- Ensuring gutters are clean and aligned to support proper water flow.
💪 Why Roof Medic Is the Roofing Team To Trust
Your roof is one of the most critical components of your home, and flashing is an essential part of ensuring its durability. At Roof Medic, we understand the value of quality craftsmanship and comprehensive service.
When you choose Roof Medic, you’re investing in:
- Expertise you can count on: With years of experience, we know the ins and outs of roof flashing and other roofing systems.
- Top materials only: We use high-quality flashing materials to ensure lasting performance.
- Customer-first service: Your satisfaction is our priority, and we’re here to guide you every step of the way.
Whether you want an inspection, need repairs, or are considering a full roof replacement, trust us to deliver superior results. Contact us today and experience the Roof Medic difference!