Metal roof flashing plays one of the most important roles in keeping your roofing system watertight and durable. Flashing is the thin metal material installed around roof joints, chimneys, vents, and valleys to redirect water away from vulnerable areas. Without proper installation, even the strongest metal roofs can develop leaks, corrosion, or structural damage over time.
For homeowners in Matthews and surrounding areas, where heavy rain and temperature swings are common, installing flashing correctly ensures your metal roof performs at its best for decades.
- Water protection: Proper flashing installation prevents leaks and rust development.
- Longevity: Quality flashing extends the life of your roof by shielding weak points.
- Energy efficiency: A well-sealed roof reduces heat loss and air infiltration year-round.
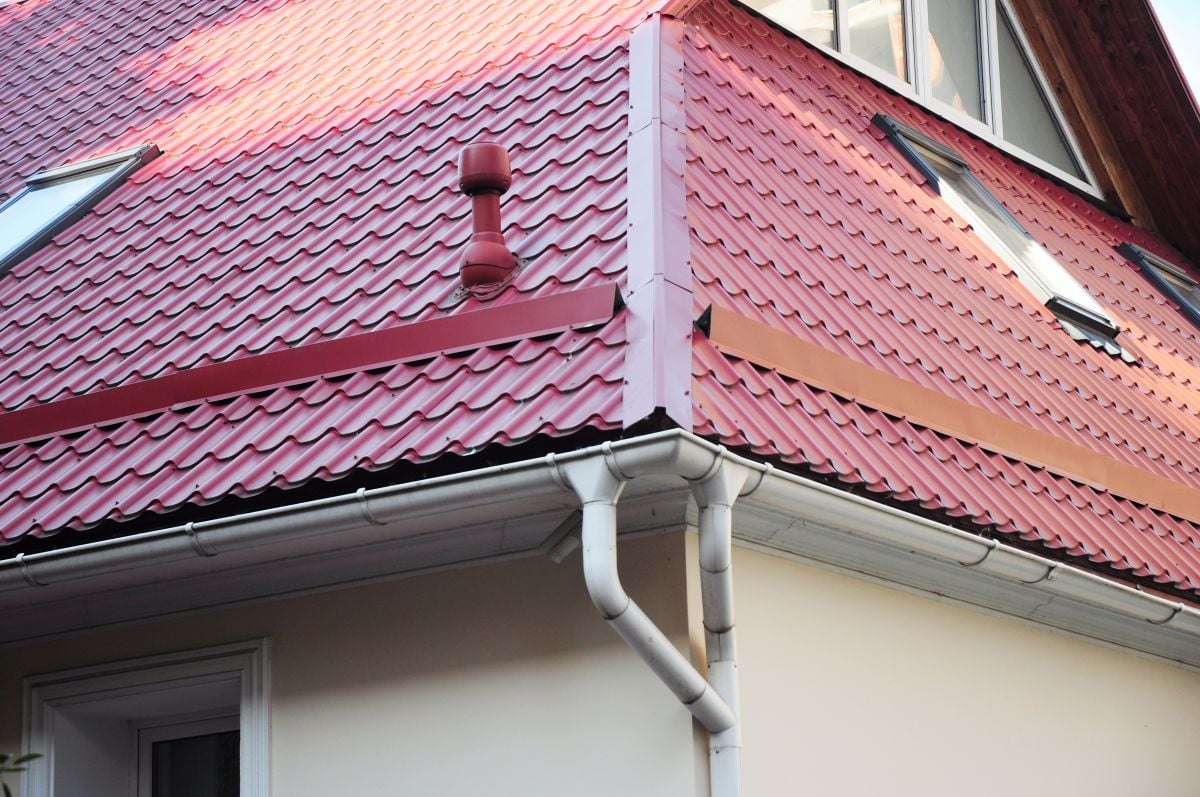
Why Metal Roof Flashing Matters

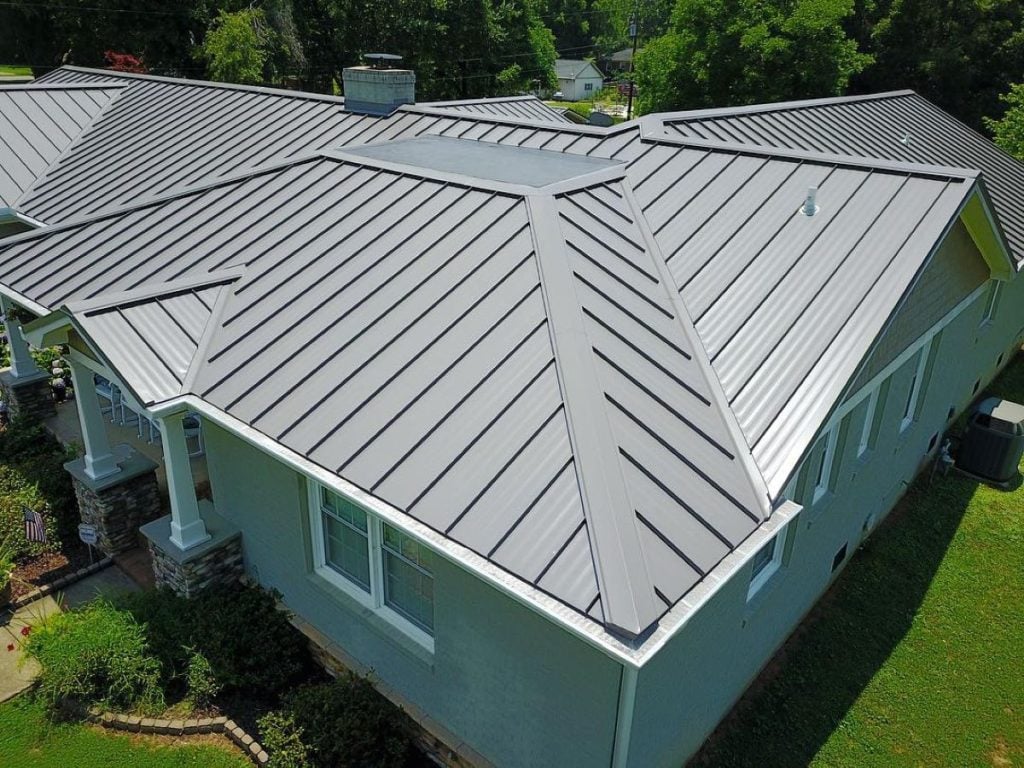
Flashing acts as your roof’s waterproof barrier where materials meet or change direction. These transition points, such as valleys, edges, skylights, and chimneys, are often the first places leaks occur. Metal roof flashing, when properly installed, not only prevents moisture intrusion but also improves the roof’s ability to handle thermal expansion and contraction.
In climates like Matthews and surrounding areas, frequent storms and humidity make flashing installation one of the most important steps in long-term roof maintenance.
5 Steps to Install Metal Roof Flashing
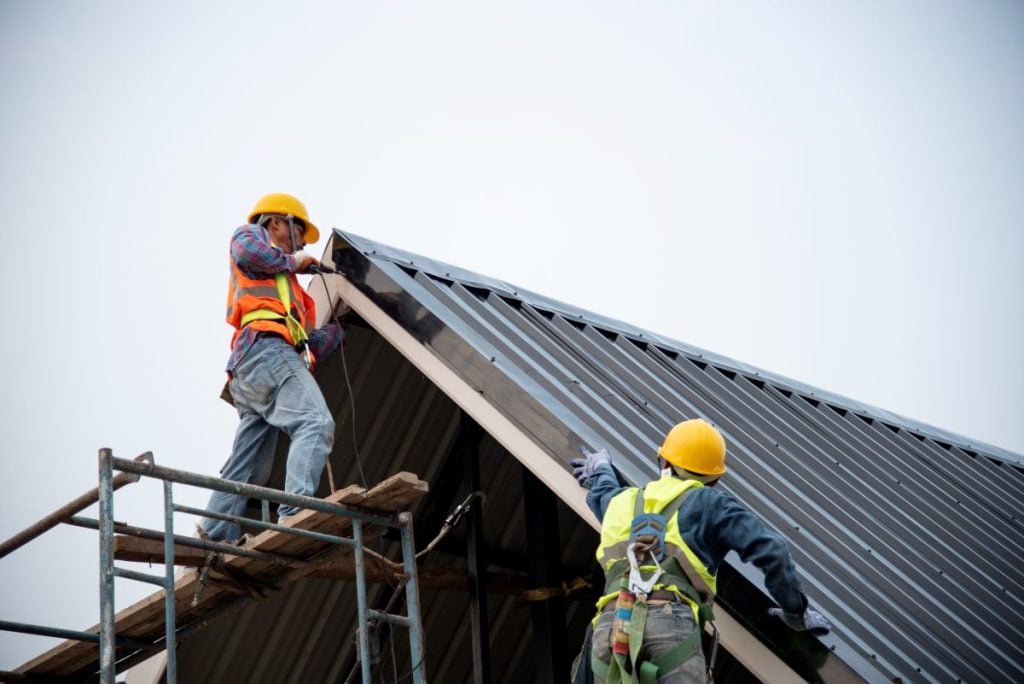
Installing metal roof flashing requires precision and attention to detail. Professionals follow a proven process to ensure durability and watertight performance.
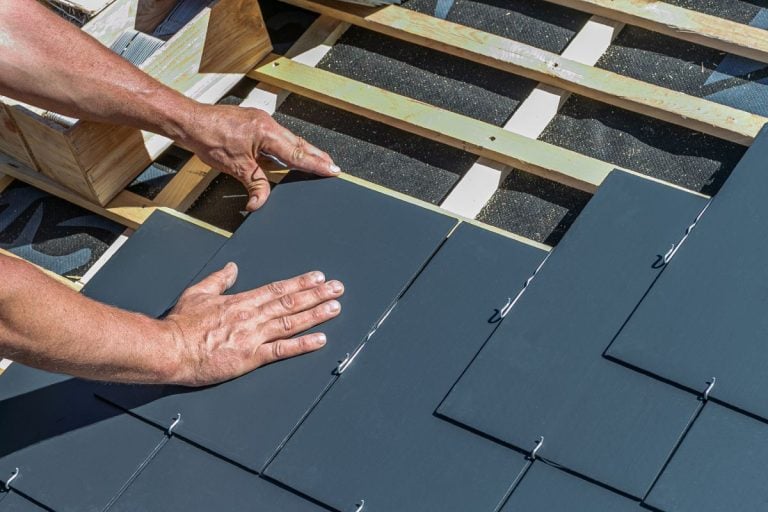
1. Prepare the Roof Surface
Before flashing installation begins, the roof surface must be clean, dry, and free of debris. Any existing rust or loose materials should be removed to ensure a solid foundation for adhesion.
- Inspect seams and joints: Identify areas prone to leaks or water pooling.
- Clean thoroughly: Use a wire brush or cleaner to remove dirt and old sealant.
- Dry completely: Moisture can prevent proper flashing adhesion and lead to corrosion.
This preparation step ensures a smooth base for metal-to-metal contact and prevents premature sealant failure.
2. Measure and Cut the Flashing
Accurate measurements are essential to ensure the flashing fits tightly and provides full coverage. Roofers typically use sheet metal snips or a brake to create clean, precise cuts.
- Measure twice, cut once: Ensures proper fit for corners, valleys, and seams.
- Allow overlap: Leave at least 4 inches of overlap between flashing sections.
- Smooth edges: Prevent sharp cuts that could puncture roofing material or cause injury.
Custom cutting also helps flashing integrate seamlessly with the roof’s contours and slope.
3. Position and Secure the Flashing
Once cut, flashing pieces are carefully placed over joints, edges, or penetration points. They must sit flush against the surface to direct water properly.
- Align correctly: Ensure the flashing covers all exposed seams or gaps.
- Fasten securely: Use corrosion-resistant screws or nails designed for metal roofs.
- Work from bottom up: Overlap each piece to create a continuous water-shedding path.
This step requires precision — incorrect alignment can allow water to flow beneath the flashing instead of over it.
4. Seal the Edges and Joints
After securing the flashing, roofers apply high-quality sealant or butyl tape to seal gaps and joints. This ensures watertight protection and flexibility against thermal movement.
- Use metal-compatible sealant: Prevents chemical corrosion or discoloration.
- Apply evenly: Avoid excessive buildup that can trap moisture.
- Focus on transitions: Extra care is taken at corners and penetrations.
Sealing enhances both the strength and durability of the flashing installation, especially in areas exposed to heavy rainfall.
5. Inspect and Test for Leaks
Once the flashing is installed and sealed, a full inspection confirms that all edges are watertight and properly aligned.
- Visual inspection: Check for gaps, loose fasteners, or missed sealant.
- Water test: Controlled spraying simulates rainfall to verify leak protection.
- Final touch-ups: Apply additional sealant or screws as needed for reinforcement.
In Matthews and surrounding areas, where seasonal storms are frequent, this inspection ensures that your metal roof flashing performs reliably under real-world conditions.
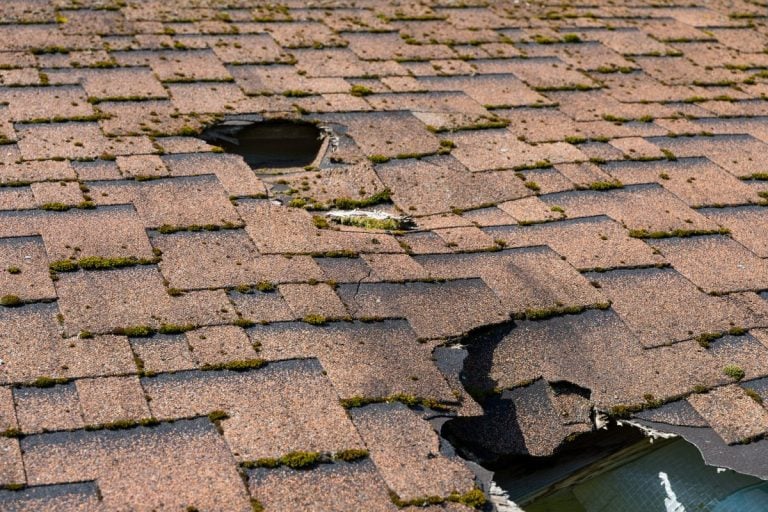
Common Flashing Mistakes to Avoid
Even small installation errors can compromise your roof’s watertight barrier. Professional roofers know how to avoid common pitfalls such as:
- Incorrect overlap: Allows water to backflow beneath flashing edges.
- Using incompatible metals: Can cause galvanic corrosion between materials.
- Skipping sealant: Leaves joints vulnerable to leaks during heavy rainfall.
- Overdriven fasteners: Crack or warp the flashing, weakening its hold.
Proper installation, inspection, and maintenance prevent these issues from developing into costly leaks or structural problems.
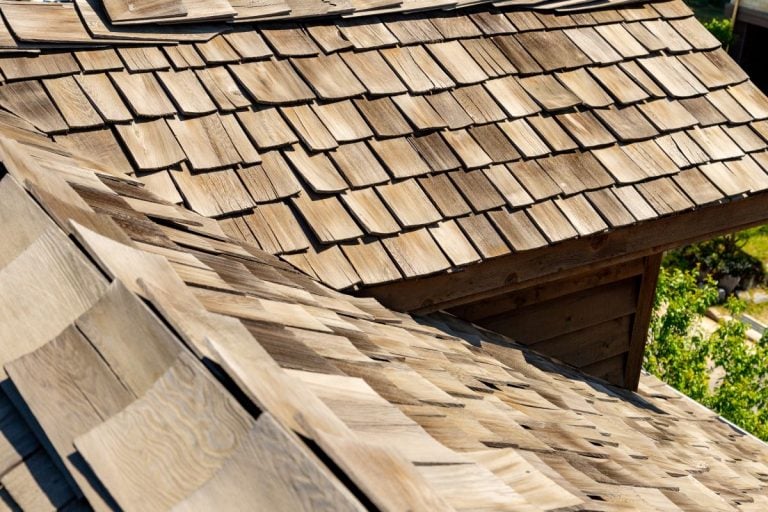
Maintenance Tips for Long-Lasting Flashing
Flashing lasts longest when maintained as part of a regular roof care routine.
- Inspect annually: Look for loose fasteners or deteriorated sealant.
- Clean debris: Keep valleys and gutters clear to prevent water buildup.
- Reapply sealant: Every few years, reseal exposed seams for added protection.
- Schedule professional inspections: Roofers can spot early signs of wear before leaks begin.
A proactive approach keeps your flashing, and the rest of your roofing system, in excellent condition for years to come.
Protect Your Home With Proper Flashing Installation
Proper metal roof flashing installation is one of the most effective ways to safeguard your home from leaks, rust, and weather damage. Attention to detail during installation ensures lasting performance and long-term peace of mind.
Roof Medic proudly serves homeowners in Matthews and surrounding areas with expertise in metal roofing systems, ensuring every component, from panels to flashing, is installed to the highest standard.
Reach out to Roof Medic today for expert guidance on metal roof flashing and long-term roof protection.